![]() Last week I wrote about some of the work that I've been doing with Tulip, and specifically with the platform's support for plugins ("custom Widgets"). In that post, I shared my first Tulip custom widget, the "DataTable widget."
Last week I wrote about some of the work that I've been doing with Tulip, and specifically with the platform's support for plugins ("custom Widgets"). In that post, I shared my first Tulip custom widget, the "DataTable widget."
In this post, I'm sharing another Tulip custom widget - the "jsExecute widget."
The jsExecute Widget
The jsExecute widget is very simple. Its Javascript consists of a single line, and its HTML consists of a single, empty DIV tag.
But don't let the widget's simplicity fool you. It can be quite powerful, has a number of potential uses, and might even reduce the need for creating a number of other custom widgets.
The jsExecute widget essentially provides Tulip users with an easy way to execute ad hoc Javascript. To use the widget, you pass it a Javascript expression or an entire block of Javascript code. The widget will then execute the Javascript. You can optionally have the widget raise an event ("Executed") so that the app can act on the result. Another option is to have the widget set the contents of its own DIV tag, so that dynamically generated content can be displayed.
Usage Examples
Perhaps the best way to explain what the widget does is by showing a few examples. For each of the examples below, I've included a short animation showing the result of the Javascript execution.
In each of the examples, I'm using a variable to pass the Javascript to the custom widget, and that variable gets set via the Text Input object that's shown in the left-most side of the window. Keep in mind that you could also pass the Javascript via a static value, or via a variable that gets set as part of a trigger, or an app-level variable that has a default value. And in fact, that's normally what you'd do. (I'm only using the Text Input so that you can easily see the Javascript that is being executed.)
The actual jsExecute custom widget is positioned in the bottom-right area of the screen. In cases where the Javascript is displaying content directly from the widget, you'll see the content displayed there.
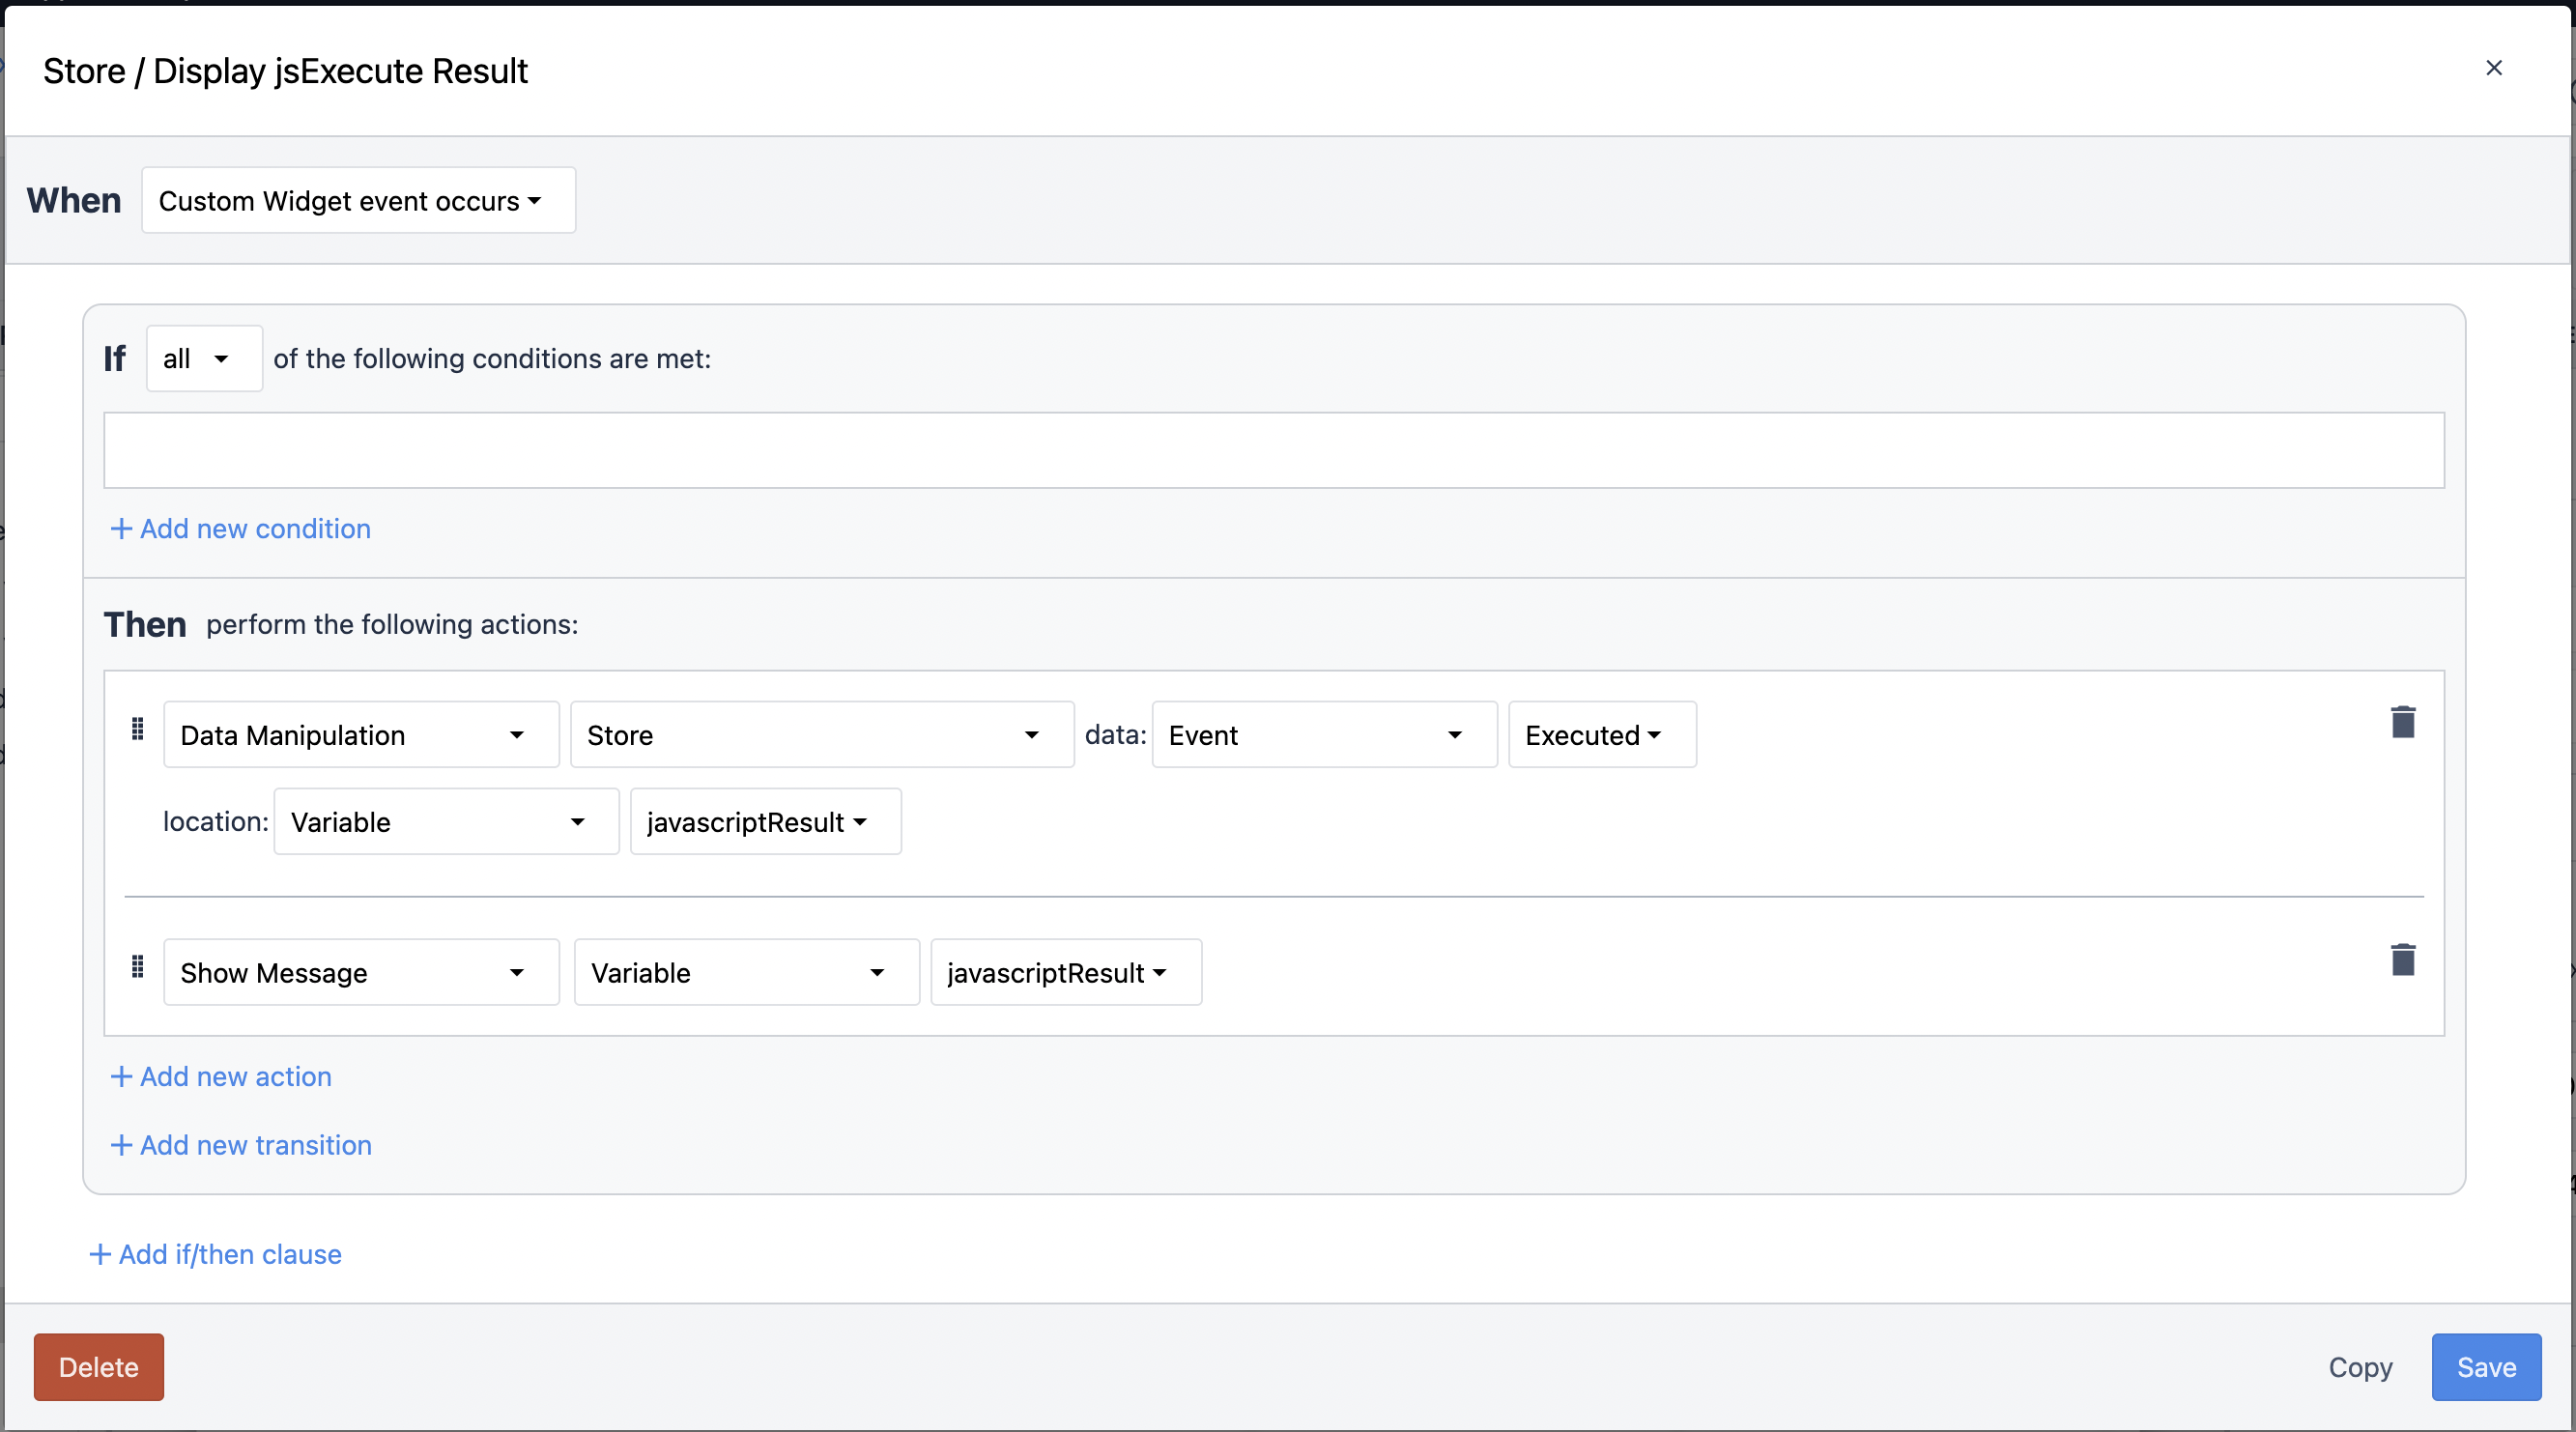
And in cases where the Javascript that's being passed to the widget raises an "Executed" event, there's a trigger on the widget instance that fires. It does two things. First, it stores the result in a variable named javascriptResult, which is associated with the Text Input that's positioned in the top right corner of the screen. And secondly, the result is displayed as part of a Show Message trigger action. Here's what the trigger looks like.
Example #1: "Hello world" with an "Executed" event raised.
In this first example, we're simply setting a variable to a string and raising the "Executed" event. The result is that the trigger on the custom widget fires, stores the result ("Hello, world!") in the javascriptResult variable, and displays the text in the Show Message action. Notice that the widget itself remains blank.
let x = 'Hello world!';
fireEvent( 'Executed', x.toString() );
Example #2: "Hello world" with content set and an "Executed" event raised.
This example is identical to the first example, with one exception: The value of the variable is displayed in the widget's DIV tag.
let x = 'Hello world!!';
document.getElementById( 'content' ).innerHTML = x;
fireEvent( 'Executed', x );

Example #3: Calculate next year and return it via the "Executed" event.
This example is a little more practical, in that the Javascript actually does something that is potentially useful. It calculates the value of next year, and returns the calculated value via the Executed trigger. Notice that it is then stored in the javascriptResult variable (and displayed in the corresponding Text Input object), and also displayed as part of the Show Message trigger action.
const d = new Date();
let time = d.getTime();
let nextYear = (d.getFullYear() + 1);
fireEvent( 'Executed', nextYear.toString() );
Example #4: Call an API and display the response.
This example also shows what I believe is an interesting, practical application of the jsExecute widget. It uses XMLHttpRequest to call a Web API (in this cases the Star Wars "SWAPI" API), and the result is returned via the Executed trigger. The entire response payload is returned as a string, and you can see it displayed via the Show Message trigger action.
function reqListener () {
	fireEvent( 'Executed', this.responseText );
}

var oReq = new XMLHttpRequest();
oReq.addEventListener("load", reqListener);
oReq.open("GET", "https://swapi.dev/api/films/1");
oReq.send();
Example #5: Call an API and display an element of the response.
This example is similar to the previous example, in that it also calls the same Web API. However, instead of passing the entire API response to the trigger, it parses the response, extracts an element from it (in the case, the movie's title), and passes that value via the Executed trigger.
function reqListener () {
	var obj = JSON.parse(this.responseText);
	var title = obj.title;
	fireEvent( 'Executed', title );
}

var oReq = new XMLHttpRequest();
oReq.addEventListener("load", reqListener);
oReq.open("GET", "https://swapi.dev/api/films/1");
oReq.send();
Potential Uses of the jsExecute Widget
Think of the jsExecute Widget as a sort of "widget widget." (How's that for "meta?") It can potentially save you from having to create additional widgets that serve special purposes.
I mentioned some of the potential practical uses for the widget. We can use it to tap into Javascript and perform calculations that might otherwise be difficult or impossible to do using the standard functions that Tulip supports. But I think a more compelling use of the widget is to make API calls without the need for a connector. The last two examples (above) show how you might do that.
Downloading the Widget
Just as I did with my first custom widget, I'm also making the jsExecute custom widget available to the Tulip community. To download it, click here: customWidget-jsExecute-v1.0.json
To install the widget, log into your Tulip account, navigate to Settings, select Custom Widgets, click the "..." button (located in the top right corner of the window), and select Import.
Wrapping Up
My goal with the jsExecute widget is to be able to create Tulip apps that tap into the power of Javascript, and to do so without needing to create a large number of custom widgets. That being said, this widget isn't a panacea. We're still going to need to - and in some cases want to - create special-purpose custom widgets that fully encapsulate some logic or process.
If you have any comments, questions, or suggestions about the widget, please feel free to get in touch.